
Landcruiser – Sound System Upgrade Complete
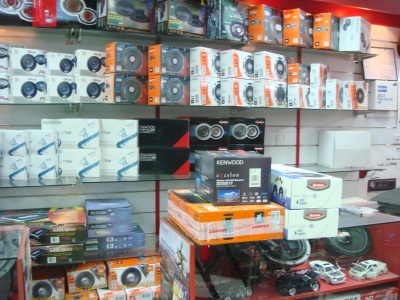
I had 95% of my sound system except for the dyanmat but I decided to go ahead with the install since I wanted it to be done during the day time. I knew the install would take about 2 – 2.5 hour since its a clean install and it seemed simple enough, but I was off the target since I assumed they would only be working on my car.
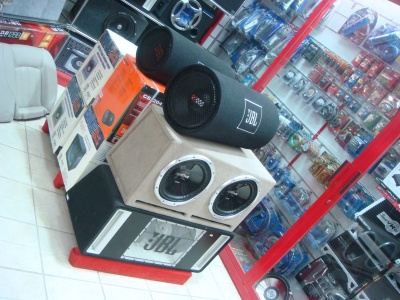
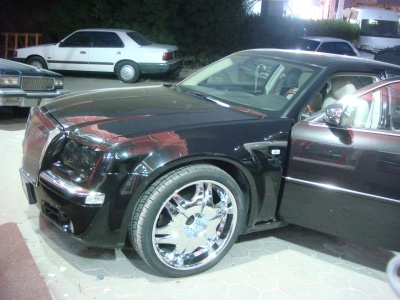
When I got there at 5:00 pm they just started working on a Chrysler 300C which was installing two amps, a capacitor, and wiring. Basically that car kept the stock speakers, but new head unit and a subwoofer was installed in the middle of the handrest in the car. It seems the Kenwood dealer in Kuwait fried this person’s headunit and computer when installing so he is filing a report with the consumer protection department in the government and it is going through.

They have one person named Sakem who is quite knowledgeable regarding sound systems because I looked at the instructions with him and we decided how I wanted the speakers wired for a specific flow of sound, and where to put the amp. The first person working on my car almost messed up if I wasn’t on top of him, so I told him just to dismantle what was there, basically making sure he doesn’t solder anything or install anything. He knew to a degree what to do, but he didn’t know what I wanted and I was afraid he would destroy some of my equipment, because Sakem was busy with the 300C.
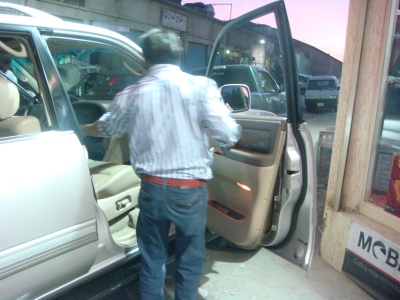
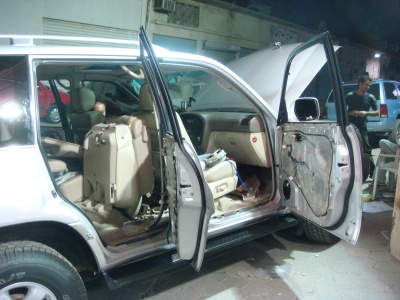
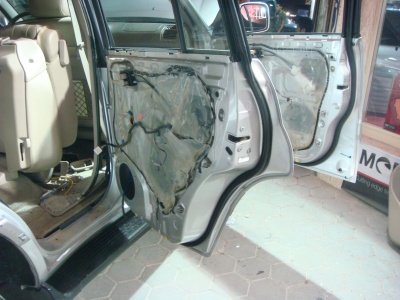
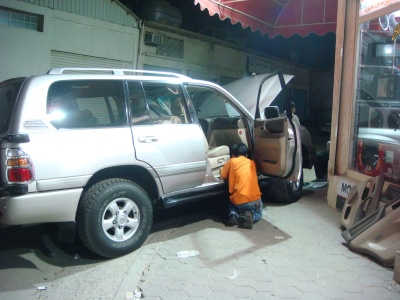
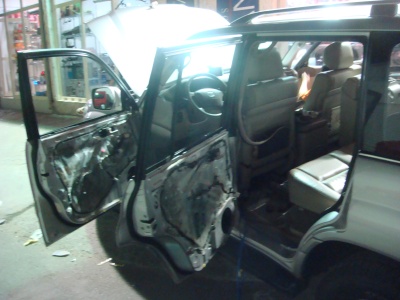
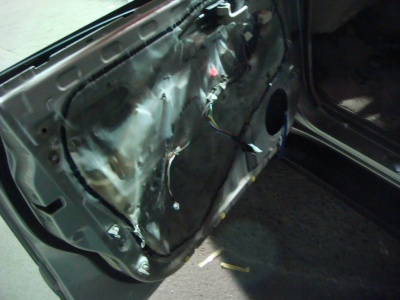
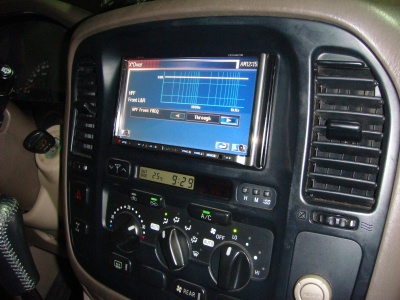
They started with the wiring since I told them where I wanted everything, they used 8 gauge wiring for all the speakers, head unit, and amp which is fantastic for sound but difficult to wire inside the car. It hurt to see the guts of my car being ripped out like that, I knew what they were doing was right without damaging anything. On its own it took over an hour and a half just to put the wires through all the hidden area to the back. They finished the 300C around 7:10pm and things got going with my Landcruiser from there, the wiring was all ready and the old speaker mounts were used to mount the new speakers which fit perfectly even though they are bigger. I have to say Toyota did an excellent job with the wiring and everything else, very simple and perfectly done. I helped them fitting the wires and pushing the main 4 gauge wires through the firewall to the battery. By the time things got going it was taking 15 minutes for every door which got us to about 8:40 pm. All wires were going to the back and were putting together each door once it was done, it worked systematically and there were five people working on the car including me. I was happy I had jeans and a t-shirt on since I did get dirty, but it felt good that things were being done right. The headunit took some time to install because it had at least 36 different wires and he had to dismantle the wiring of the main part in the Toyota connection to connect it to the Kenwood Headunit.
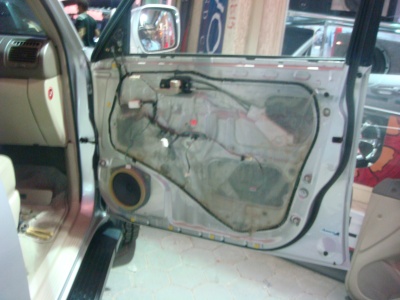
Then they tested each speaker to see where the sound was coming from to connect it to the correct port in the amplifier. Overall it was a great experience but it took to 9:25pm to finish the car since there was one before mine, if there wasn’t any other car I still think it would have taken until 8:30pm at least to finish since it wasn’t easy to get the wires around. Then we spent 10 minutes tweaking the sound since it was at least 4 times louder then before, but tweaking the sound is going to take at least an hour of time which I will do later.
The install, wiring, and equipment cost 100 KD which is worth the value since they did do a good job overall and when Sakem was working on the sound system I could tell he knew exactly what he was doing and what can’t be done. The stock speakers are 20 Watts, the new Boston Acoustic speakers are 125 Watts so its 5 times more powerful and it can be easily heard, its iPod & Mp3 player ready, rear camera ready, navi ready. I might get the rear camera but thats about it everything else is ready to connect. It was one hell of a night but I was happy everything was done the only thing I forgot to check was the radio quality, I just have to go back because the antenna isn’t going up and down like it is supposed to before, I’m sure its a simple switch since its right next to the temperature and clock.

 Posted in