Windows Home Server – Stage 4
 Posted in Computer on 01 Jun 2008 at 6:06 am
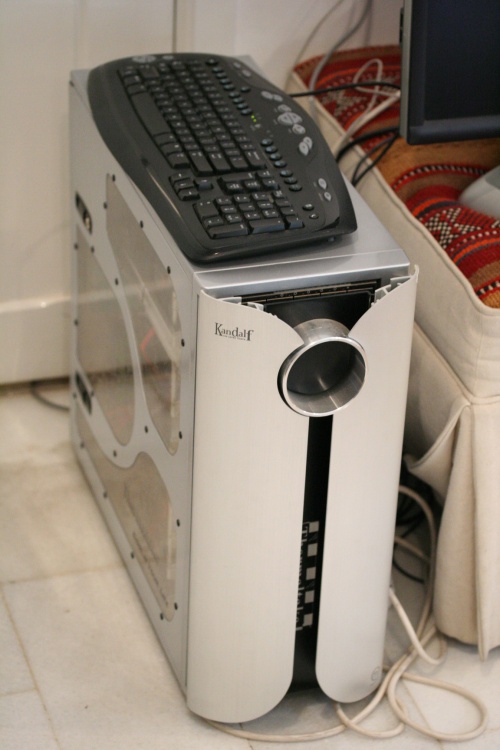
This is one of the final stages of the Windows Home Server modifications, all other modifications will be on a minor scale. These are one the last major changes that I will be making for at least a few months.
Parts:
- 5 Slot Backplane
- 4 TB Western Digital Drives
- 36″ SATA Cables
Tools:
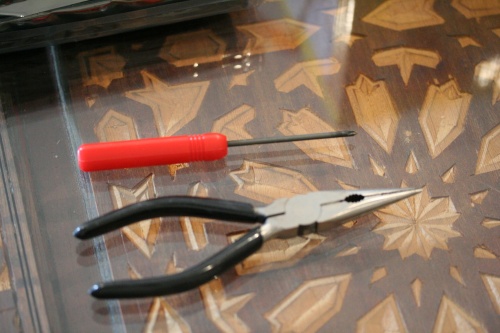
- One Thin Screw Driver
- Pliers
WHS Add Ons:
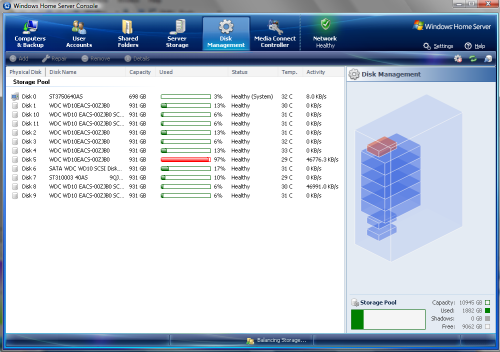
- Windows Home Server Disk Management – To get details regarding each hard drive status and temperatures, to replace any failed drive.
- Media Connect Controller – It is an Add-On that automatically formats videos in a way to play through your X-Box 360 which can only play specific formats but through the Windows Home Server you can see all the different files (MKV, MPEG-4, DVIX, and AVI).
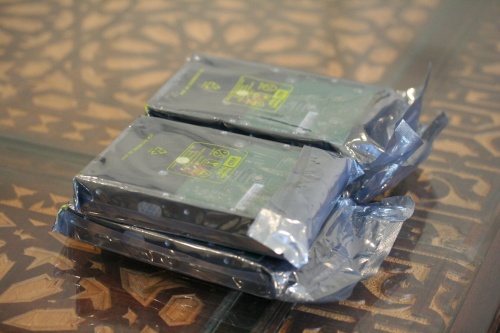
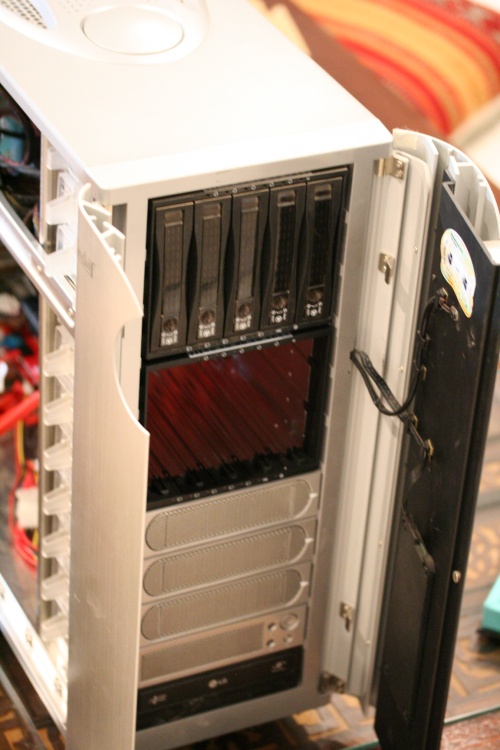
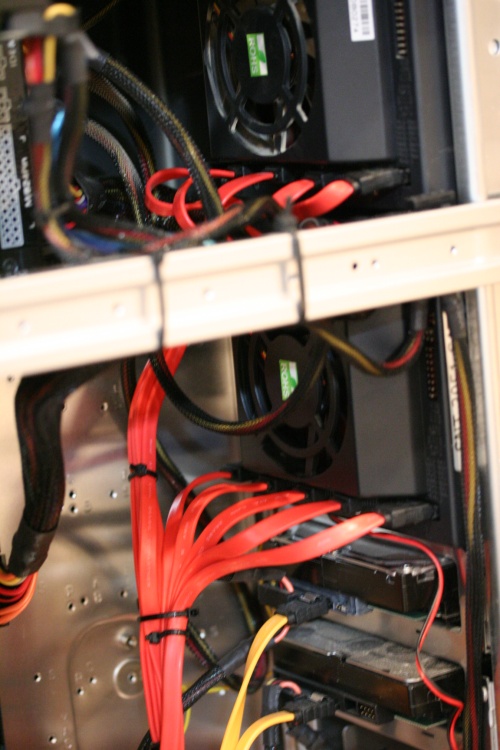
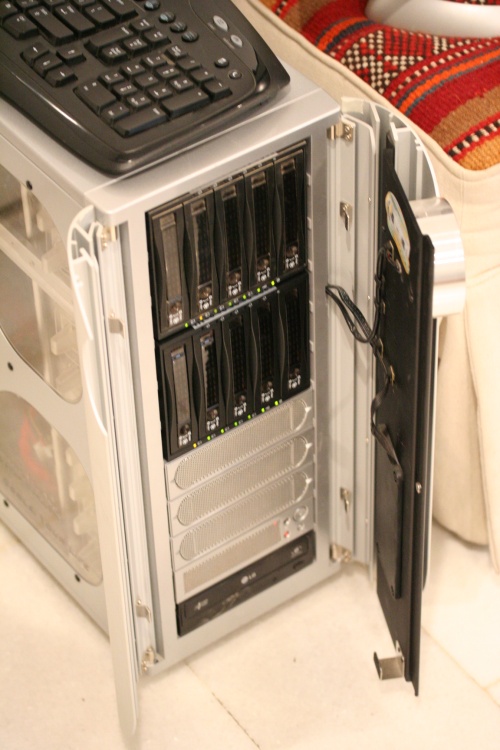
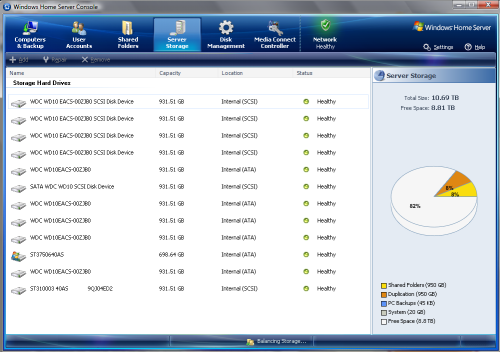
I decided to move the CD Rom drive down to the bottom and installing the new Backplane just under the current Backplane. The current Backplane is filled completely with 1 TB Drives, and so will the new one. I will be filling it up with four 1 TB Drives and keeping one open for later purposes and expansion. I currently have 7.2 TB which will soon be filled up with all the Anime, TV Episodes, and Movies that I have floating around in the network. I still haven’t consolidated my network map due to some technical difficulties which I will be discussing later. So the process of dumping data onto the server will take a little longer then expected but it shall be completed in a timely basis.
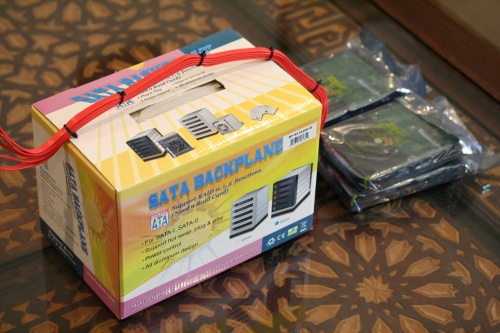
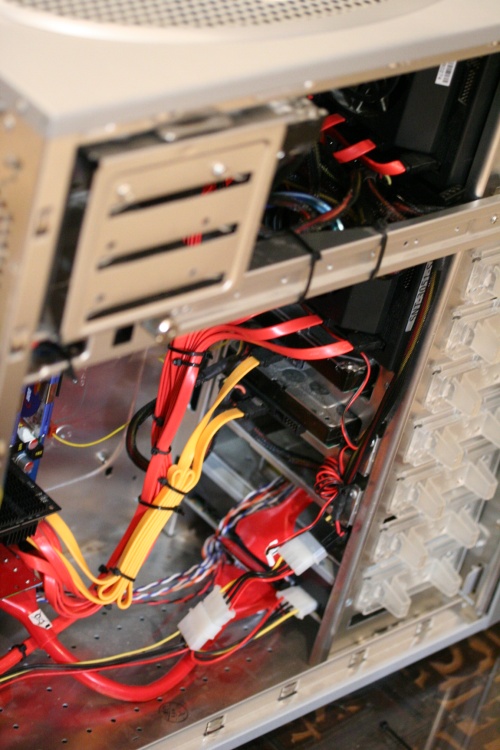
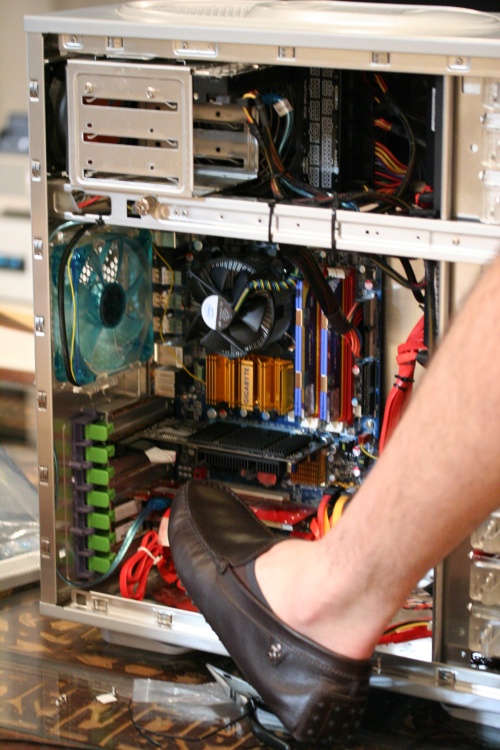
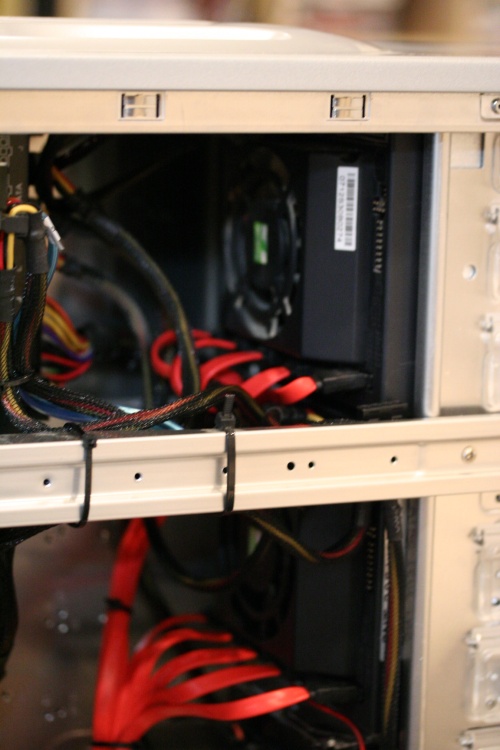
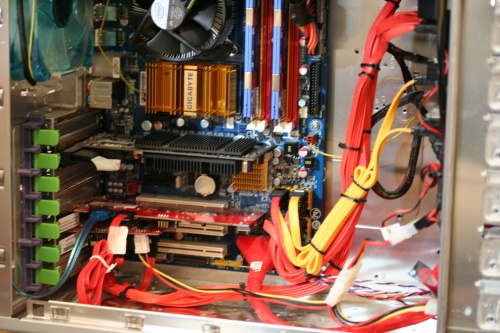
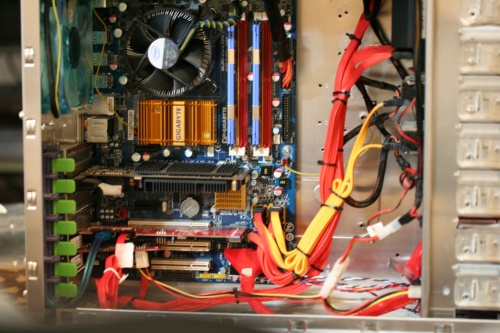
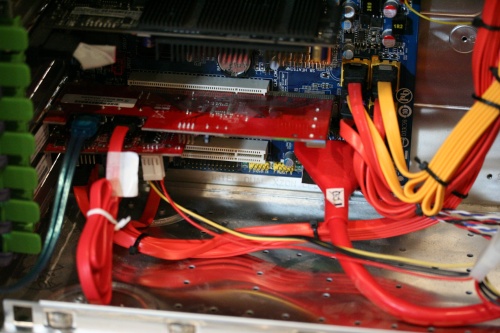
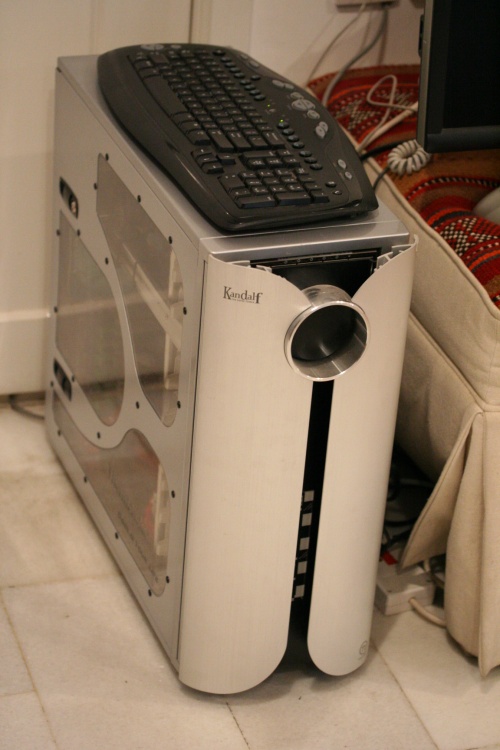
The first issue I had with this case is to remove the flaps that could bloke the insertion of the Backplane which took sometime. After cleanly installing it and taking some time to organize my CD-Rom wiring I had to figure out how to wire the power to the Backplane. At this point K came into the picture and started rewiring to his usual standard and turned it into a work of art. I know I did a decent job for the start but nothing close to K’s perfection. The SATA Controller and Port Multiplier were moved around to accommodate the extra 5 drives and cleanly incorporate them into the setup.
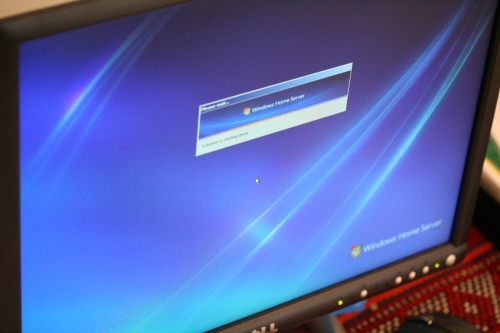
After that the SATA connection was made to the Backplane, finally all rewiring was finished and the process was to begin. We started the backplane without any drives to check if everything was operational which passed that test. Then I inserted the four drives into the slots, I cleaned up the table, got rid of all used junk, paper, and other materials. It took about 8 minutes for the server to boot up since it was still trying to figure out all the drives to be identified which was the same the last time, after that it booted faster. After booting up into Windows Home Server the process of duplication starts the process of Balancing the server so it starts shifting data round which takes a few days to complete this whole intricate process. I now created more folders and moved the data around to make sure they are located in the appropriate folder names.
I completed one aspect which is online access during the WHS – Stage 3 about a month ago and I do have online access, but again after my network complication I need to figure out how to do it again. It was great having access to all my files at a specific URL. I would like to start syncing my machine but I still have to wait for the Windows Home Server Patch to make sure there aren’t any more read/write problems. Overall this is a great asset for those who store their data and would like a centralized location. The way I have my Windows Home Server is for large media use, it could be used differently, I haven’t even backed up any machines yet but I am looking forward to fully utilizing it. More details and modifications to come.
