
Infrant Disection
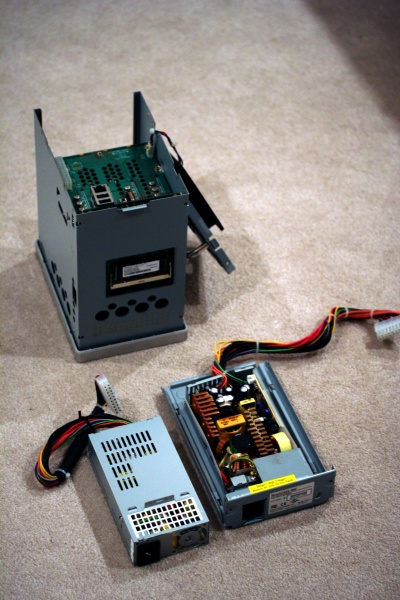
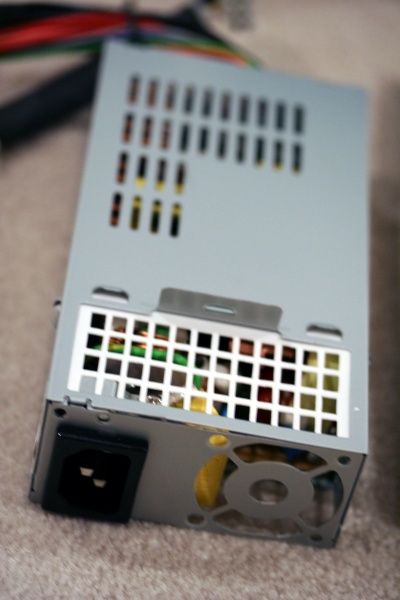
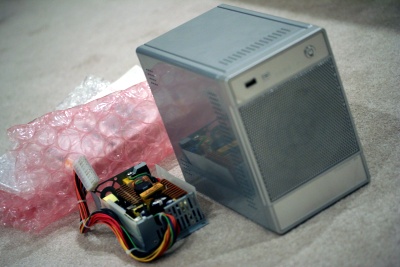
So I received my power supply unit (PSU) at last, it felt like a long time since they said they would send it. It was time to work on the Network Area Storage (NAS) since I just have to replace the power supply to get it working again.\
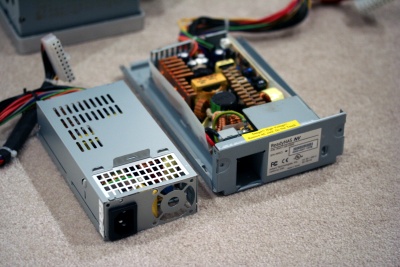
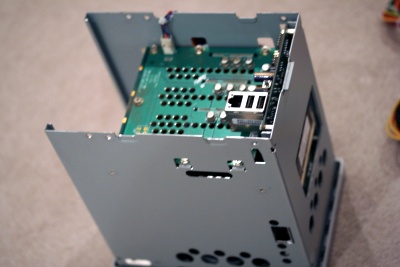
I just had one simple issue, there were no instructions what so ever about how to dismantle the PSU. So I got out all the small screw drivers I had since I didn’t want to mess up the screws, and I found the perfect screw driver. I kept removing screw after screw, and I would bunch them up in to group on a white piece of paper. If you are organized from the beginning then you will have an easier time putting it together. By the time I figured out what to do, it was a lot easier then expected and it only took 33 screws to get there, if I knew how to do it would have only been 14 screws. I dismantled the whole thing, but at least I know how to put it back together.
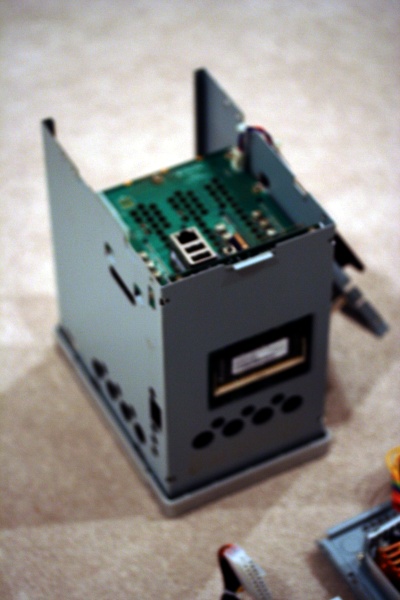
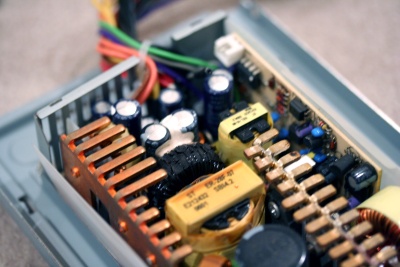
After 55 minutes of dismantling, I managed to pull out the old PSU and they were very different, you could tell the replacement was of much higher quality. And it looked like something white melted between the diodes, so that is what the strange burning smell was. I felt like I was bringing it back to life, and it is the best feeling in the world when you are fixing something that is broken. After putting it back together I had to go purchase the hard drives from the computer depot which is Hawally.
 Posted in